Deploying to production
Learn how to deploy your Clerk app to production.
Before you begin
- You will need to have a domain you own.
- You will need to be able to add DNS records on your domain.
- You will need Social Login (OAuth) credentials for any providers that you would like to use in production.
Create your production instance
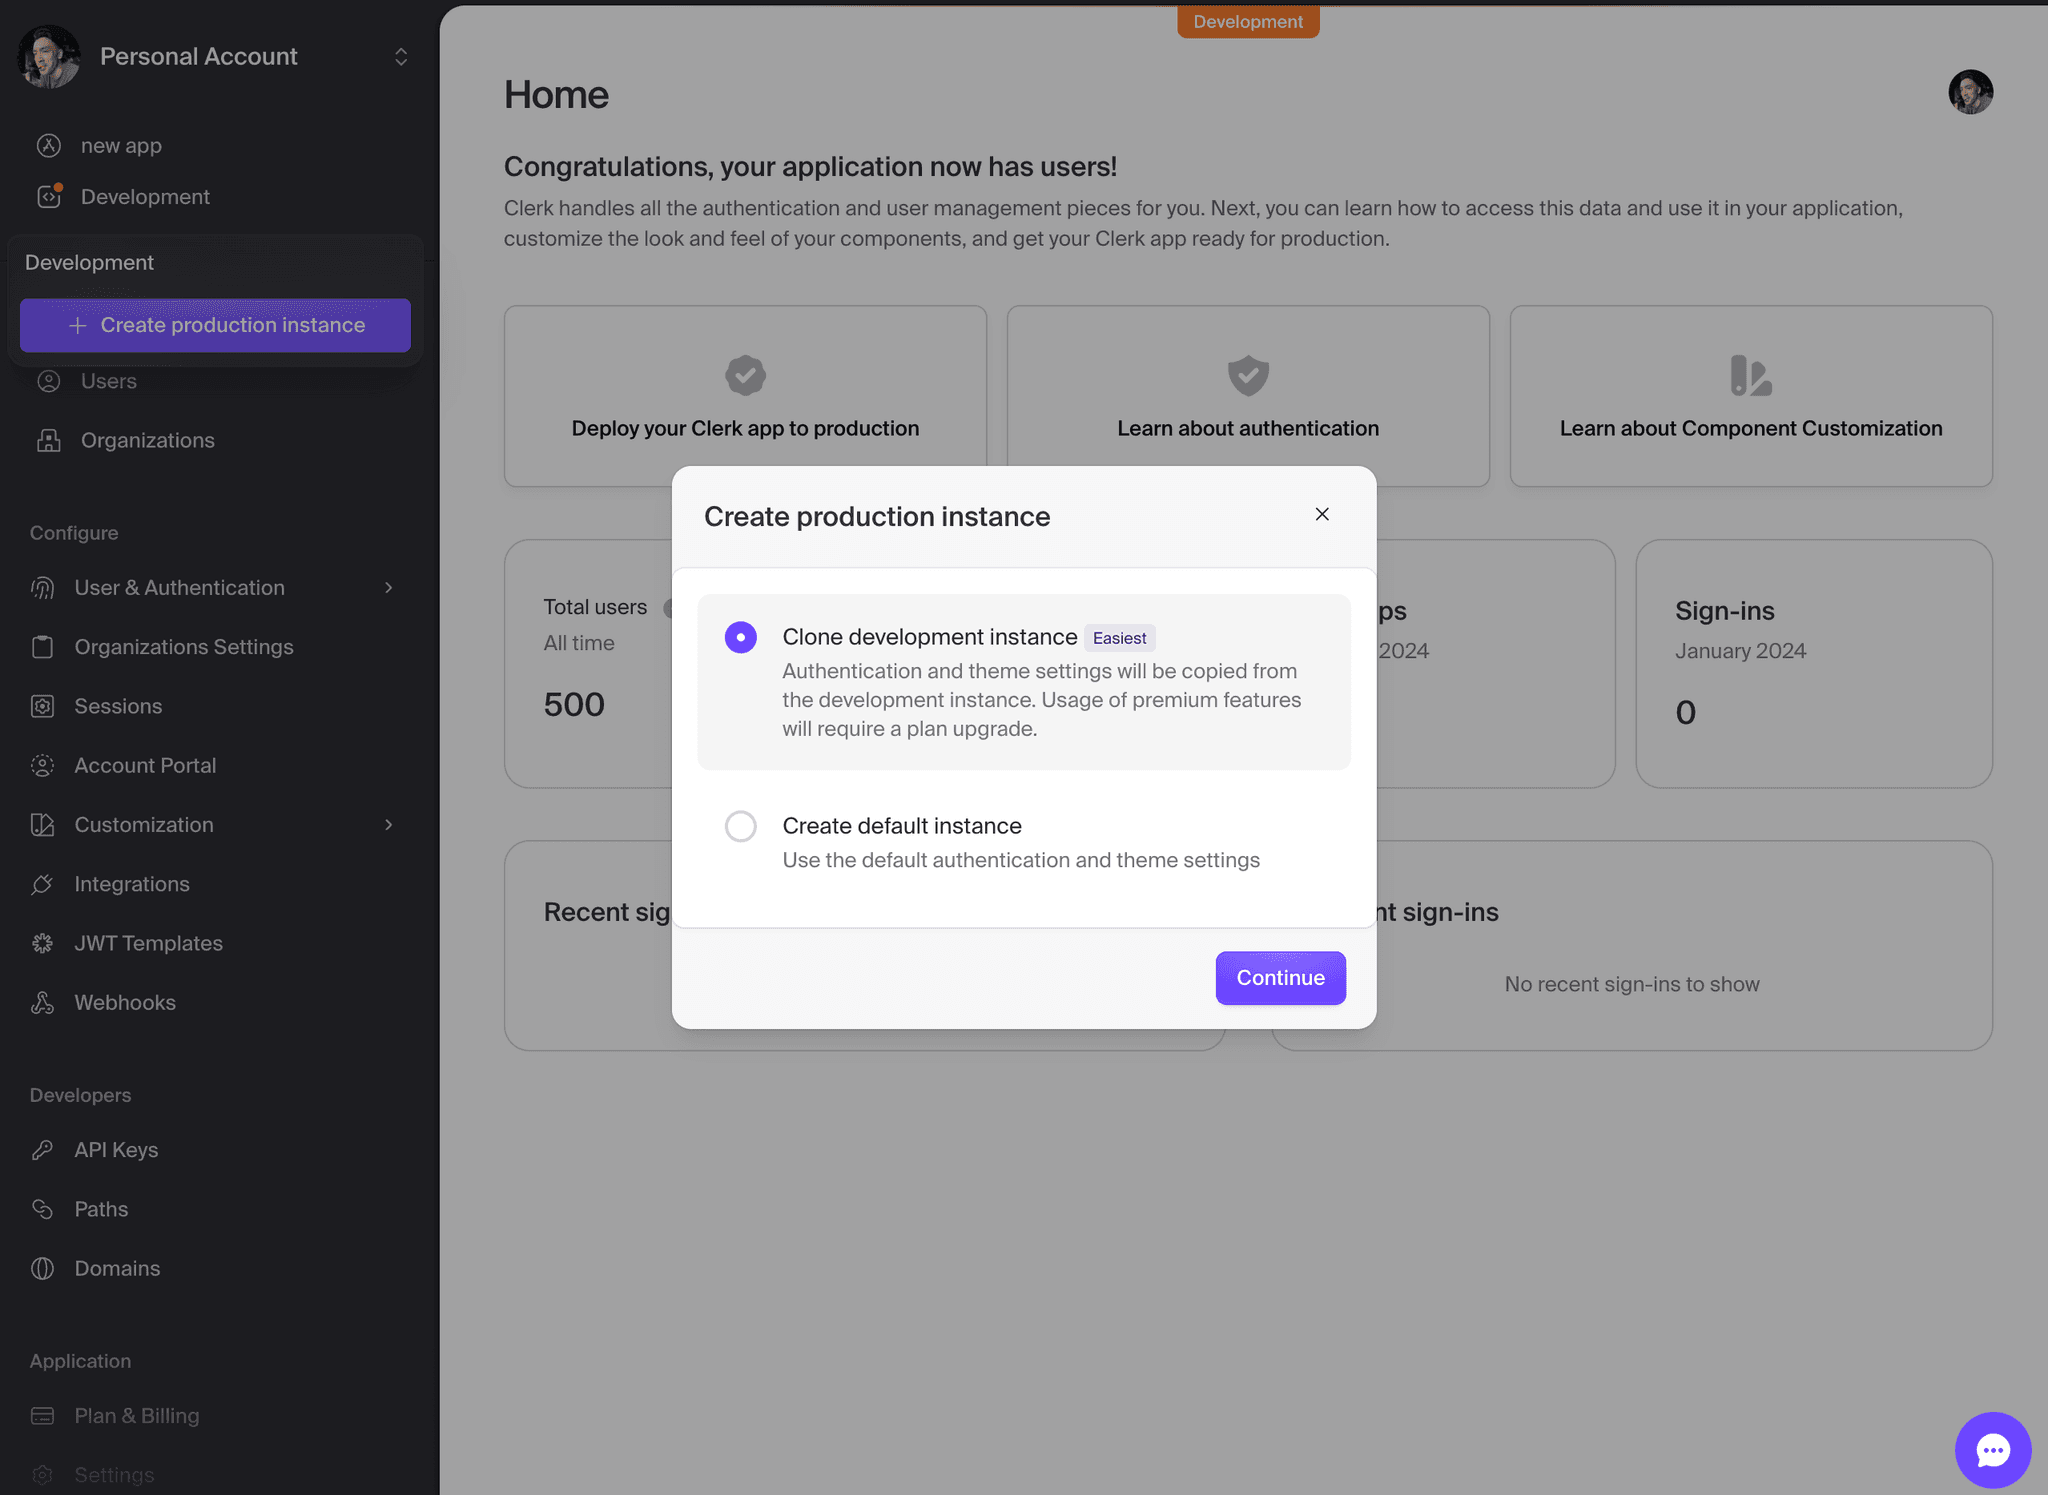
From your application dashboard, select the instance dropdown and click Production. Once you select Production, you will be prompted with a modal to either clone your development instance or create a new production instance.

In most cases, you will want to clone your development instance. This will copy most of your settings from your development instance to your production instance.
API keys and environment variables
A common mistake when deploying to production is forgetting to change your API keys to your production instances keys. The best way to set this up is to make use of environment variables. All modern hosting providers, such as AWS, GCP, Vercel, Heroku, and Render, make it easy to add these values. Locally, you should use a .env file. This way, these values are being set dynamically depending on your environment. Here's a list of Clerk variables you'll need to change:
-
Publishable Key: Formatted as
pk_test_in development andpk_live_in production. This is passed to the<ClerkProvider>during initialization. -
Secret Key: Formatted as
sk_test_in development andsk_live_in production. These values are used to access Clerk's Backend API. -
OAuth credentials: In development, Clerk provides you with a set of shared OAuth credentials. These are not secure in production and you will need to provide your own.
DNS records
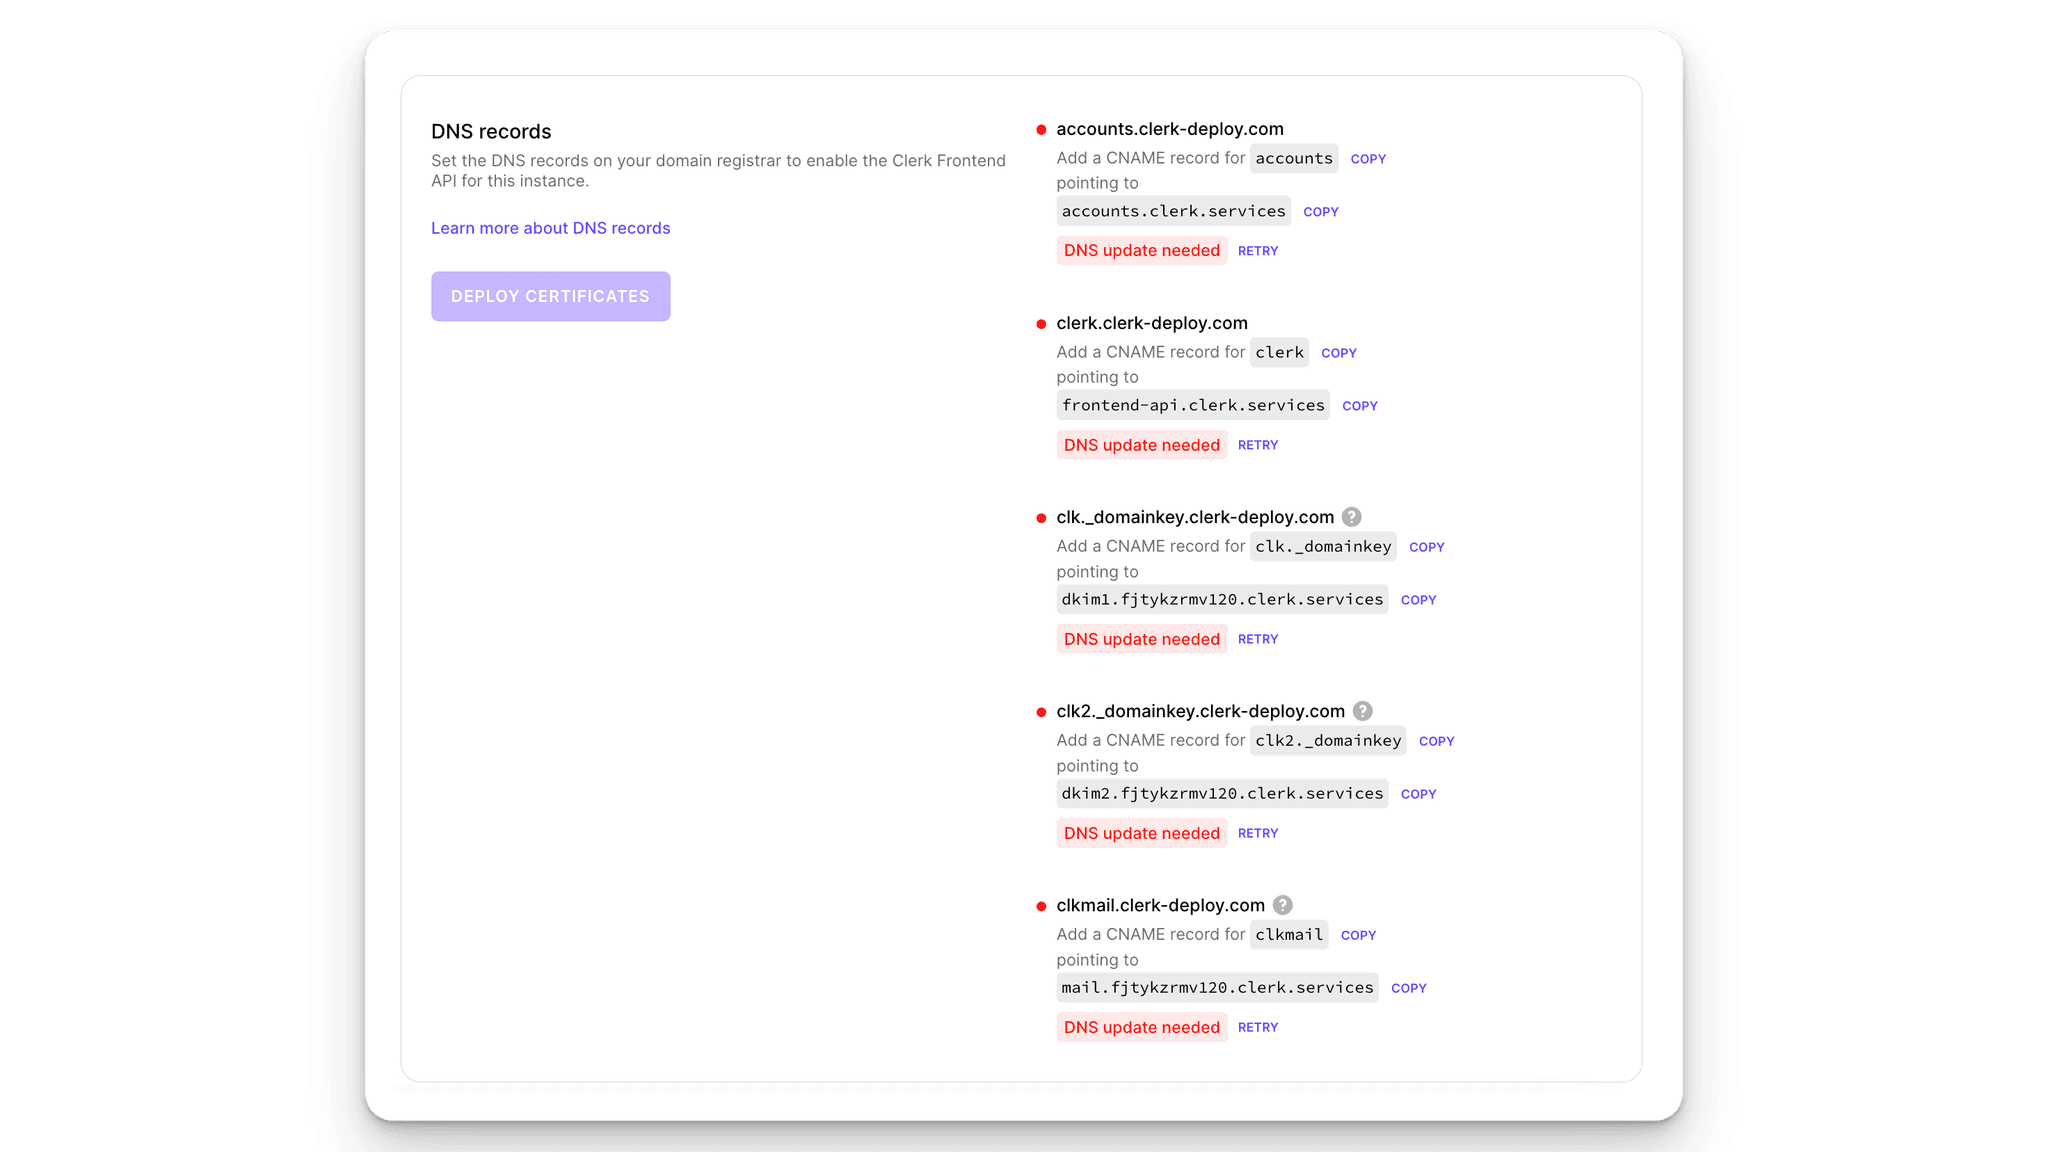
Clerk uses DNS records to provide session management, and emails verified from your domain. You will need to go to DNS section to see the records that you need to set.

Deploy certificates
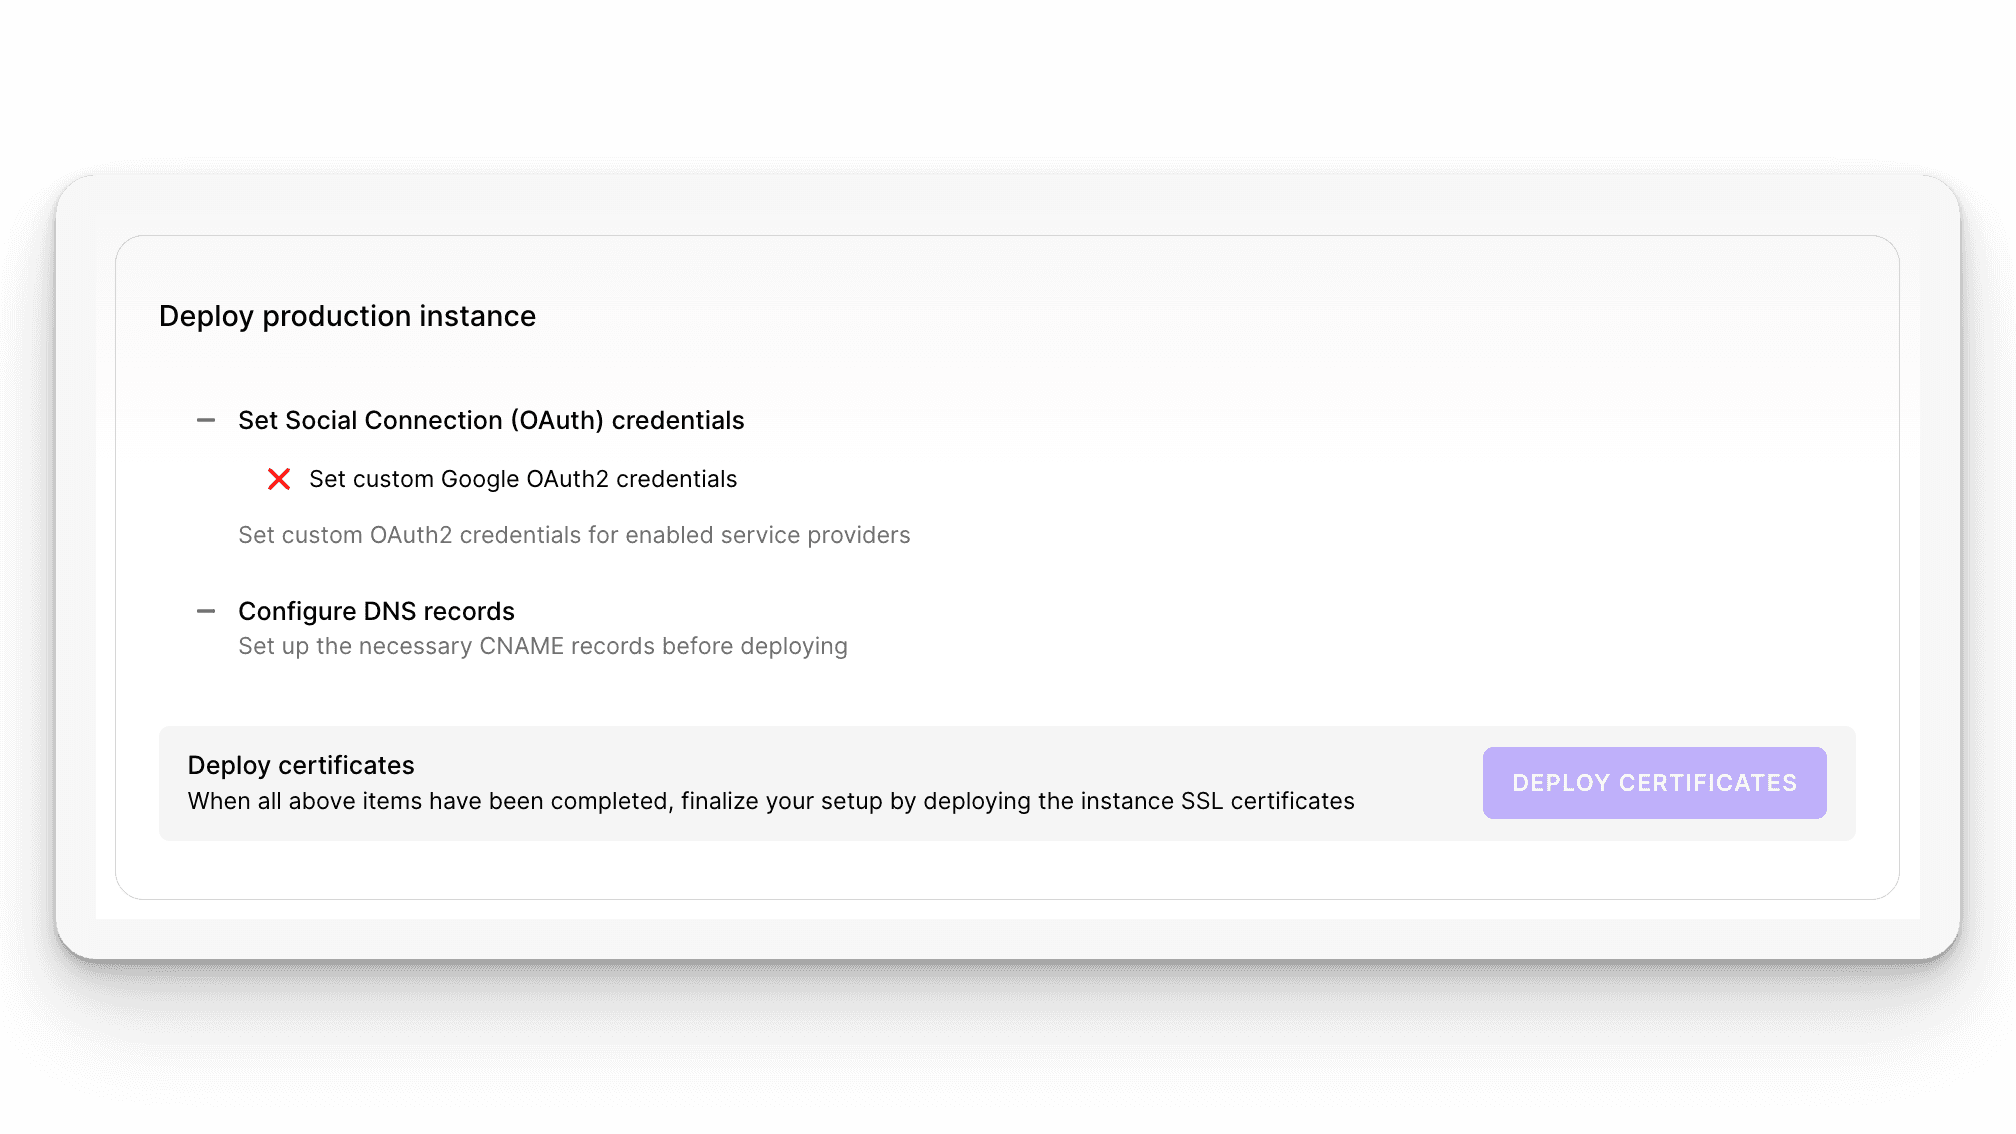
Once you've completed all the above steps, you're ready to go to the home page, and press Deploy to set SSL certificates and finalize the instance deployment.

Troubleshooting
DNS records not propagating with Cloudflare
Clerk uses a DNS check to validate this CNAME record. If this subdomain is reverse proxied behind a service that points to generic hostnames, such as Cloudflare, the DNS check will fail. Please set the DNS record for this subdomain to a "DNS only" mode on your host to prevent proxying.
Deployment stuck in certificate issuance
If your instance is stuck during TLS certificate issuance for longer than a few minutes, this might be caused due to certain CAA DNS records(opens in a new tab) set on your primary domain.
CAA are DNS records you may set to denote which certificate authorities (CA) are permitted to issue certificates for your domain, as a security measure against certain attacks. When you deploy your application, Clerk attempts to provision certificates using either the LetsEncrypt(opens in a new tab) or Google Trust Services(opens in a new tab) certificate authorities.
Therefore, ensure that you don't have any CAA records on your primary domain (e.g. example.com) that prohibit both LetsEncrypt and Google Trust Services to issue certificates for your domain.
Incorrect domain
If you accidently set the wrong domain, you can change it by using our backend API. You can find the Secret key in the settings page of your production instance. You can then use the following curl command to change the domain:
curl -XPOST -H 'Authorization: CLERK-SECRET-KEY' -H "Content-type: application/json" -d '{ "home_url": "https://www.example.com" }' 'https://api.clerk.com/v1/instance/change_domain'